
Linking Users to Projects
VoxelSpace features a built-in security model that controls user access based on authentication and assigned permissions. Once a user is authenticated via the login provider, they can be linked to specific projects with appropriate access levels.
Adding a User to a Project
To assign a user to a project:
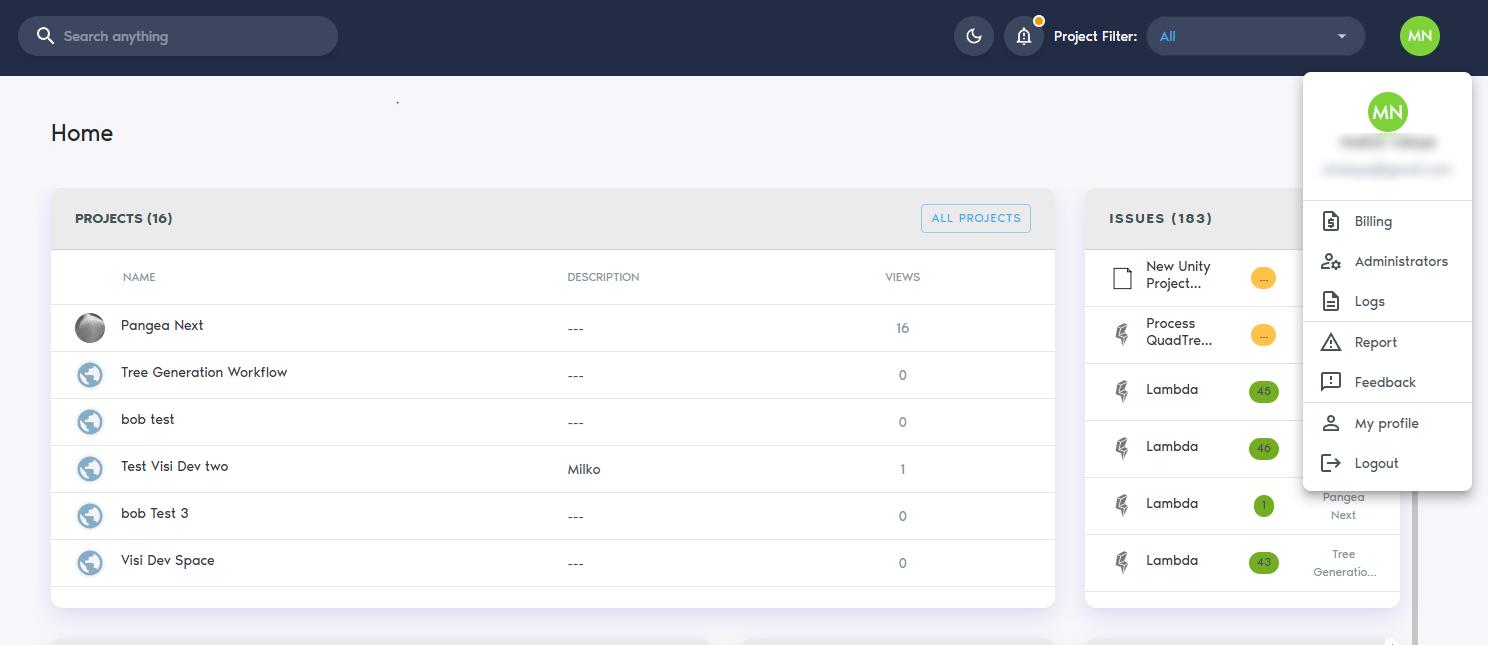
1. Go to your user profile by clicking on your name or profile icon (My profile).
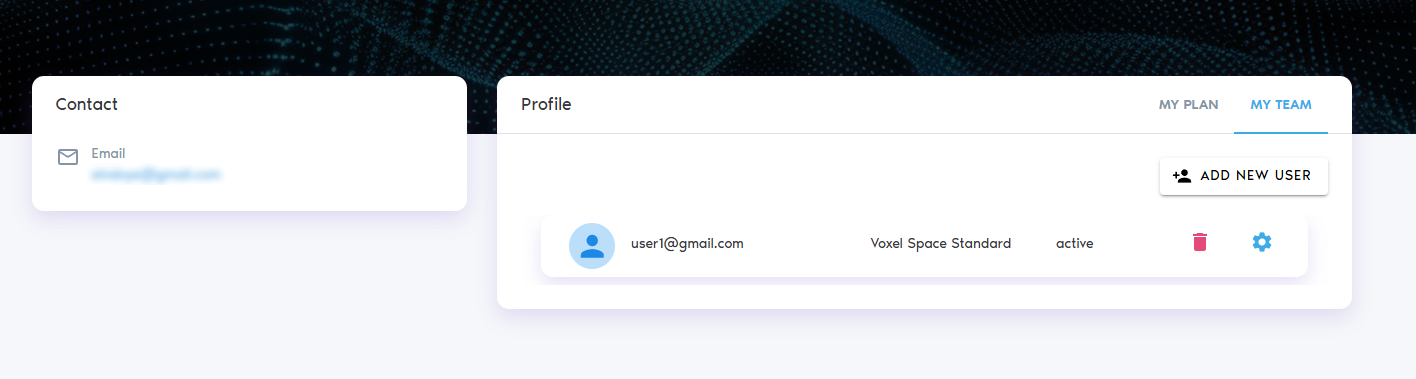
3. Click “Add New User” to create a new user account.
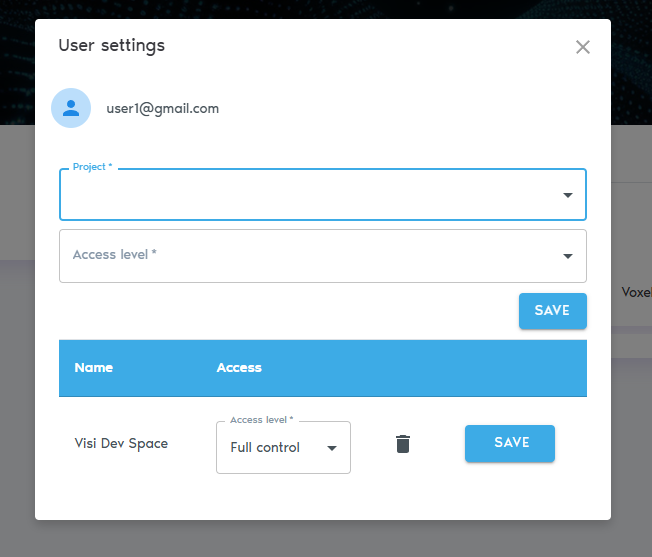
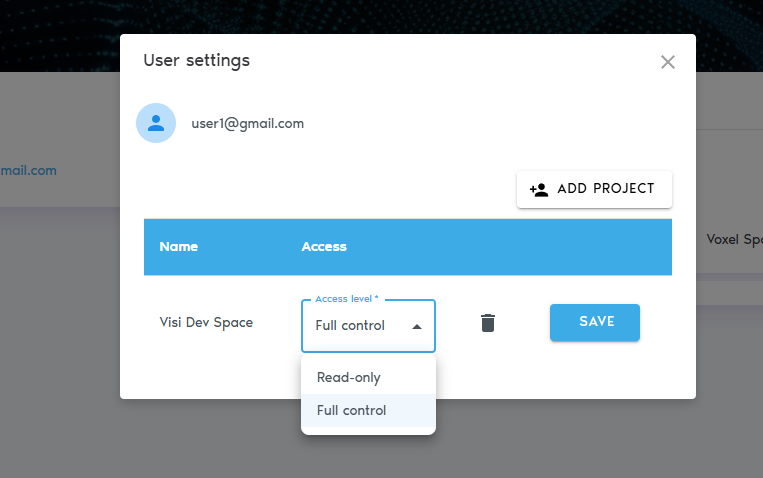
4. After the user is created, click the Settings icon next to their name.
5. Select “Add Project” to assign a project to the user.
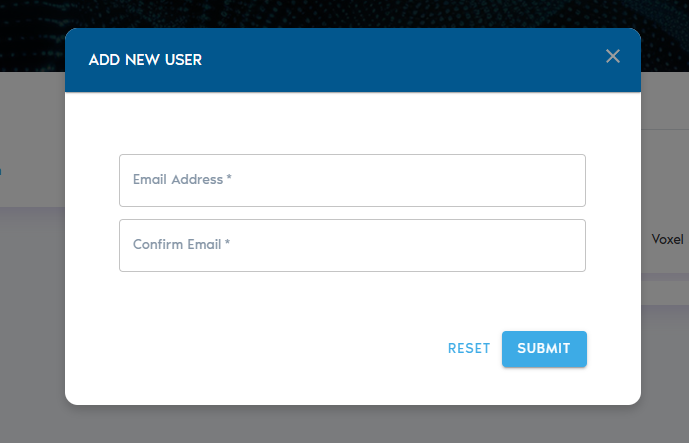
6. In the dialog box, enter the following details:
-
-
- User ID: This is typically the user's email address, but it may vary depending on your authentication setup. If you're unsure, consult your system administrator.
- Access Level: Choose between:
- Read-Only: The user can view project data but cannot modify or add content.
- Full Control: The user can view, edit, add data, and manage user access for the project.
-
7. Click “Add User” to send an invitation. The user will receive an email with instructions to join the platform and access the assigned project.
Managing User Access
- To change a user’s access level, click the Settings icon next to their name and select “Access Level.”
- To remove a user from a project, open the context menu beside their name and select “Remove from Project.”