
Linking Users to Projects
The platformVoxelSpace features a nativebuilt-in security model.model Basedthat controls user access based on authentication and assigned permissions. Once a user's identity, once the user has beenis authenticated byvia the login provider, thethey platformcan allowsbe linked to specific projects with appropriate access levels.
Adding a userUser to bea associated to an existing project.Project
To addassign a user to a project,project:
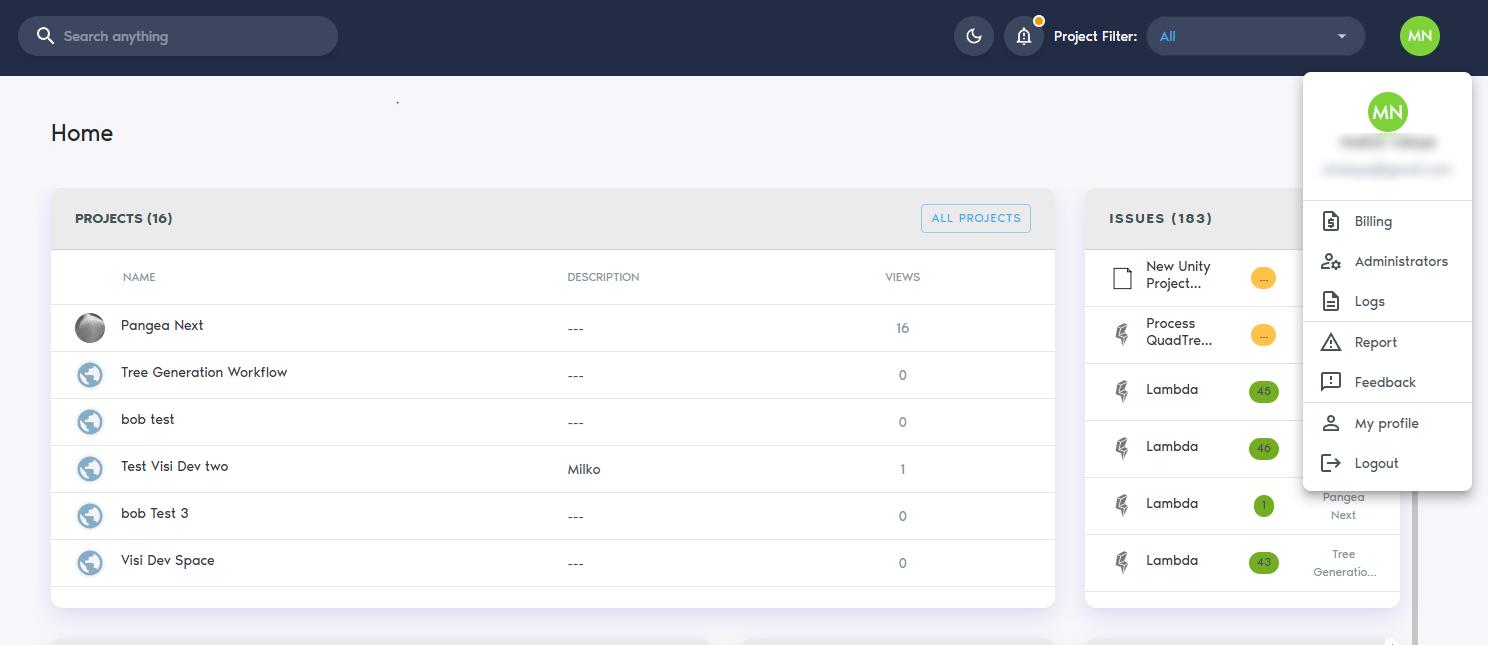
1. Go to your user profile andby clickclicking on your name or profile icon (My profile).
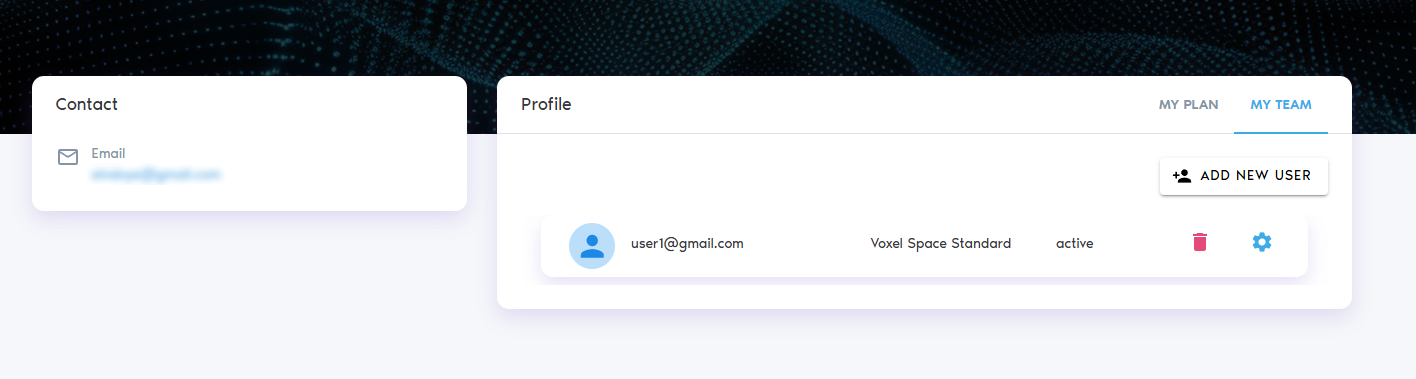
3. Click “Add New User” to create a new user account.
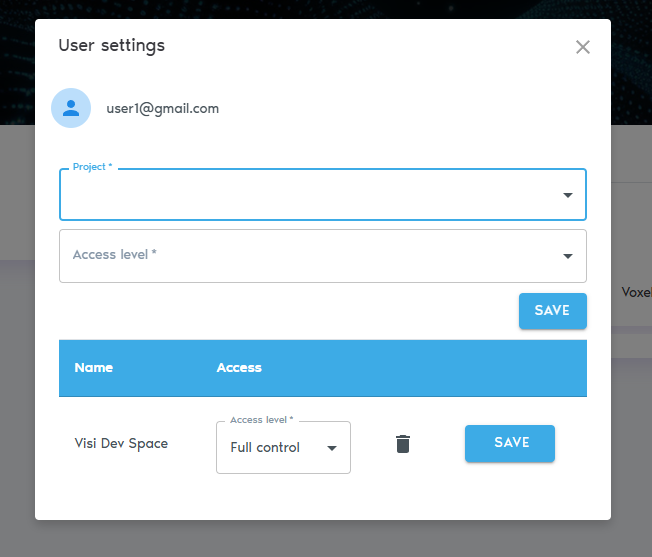
Click5. onSelect "“Add project"Project” to assign a project to athe user.
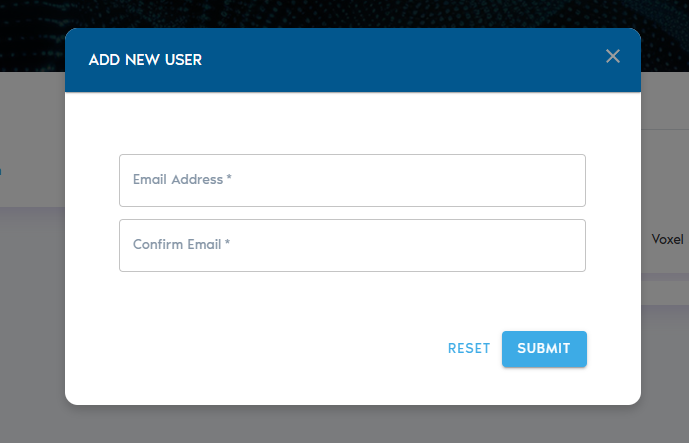
6. In the dialog box, enter the following details:
-
-
- User ID: This is typically the user's email address, but it may vary depending on your authentication setup. If you're unsure, consult your system administrator.
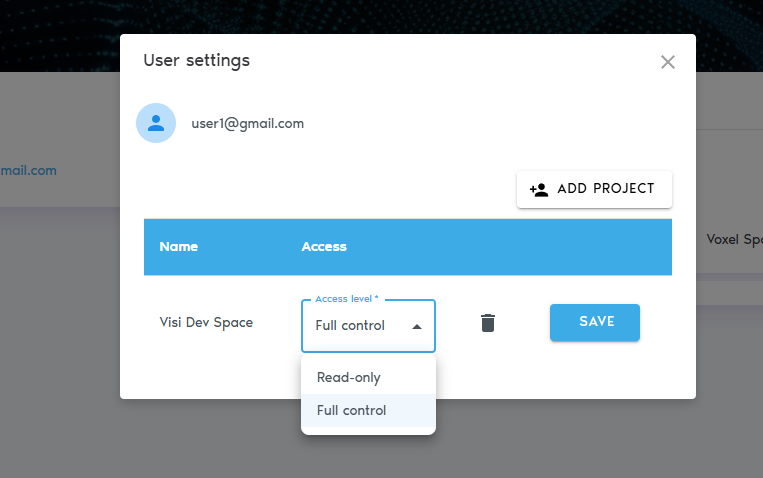
- Access Level: Choose between:
- Read-Only: The user can view project data but cannot modify or add content.
- Full Control: The user can view, edit, add data, and manage user access for the project.
-
7. Click “Add User” to send an invitation. The user will receive an email with instructions to join the platform and access the assigned project.
Next,Managing clickUser onAccess
- To
User..." button. This will showchange adialog prompting for an email. The user will receive an invitation email.In the "User ID" field you must provide the identifier for the desired user. This identifier could be the user'user’semail, or a different handle, depending on how identity is managed by the login system. If not sure about which ID to use, please contact your network administrator.The "Access Level" field allows to pick one of the two possible access levels:Read-Only: The user can view and read data, but cannot add new data or change the existing data in any way. The user will not be able to add other users to the project, nor to change theaccess level
ofclickexistingtheusers.Settings FulliconControl: The user is allowednext toperformtheirall operations
It is possible to change the access level of a User later, by clicking on the settings icon,name and thenselect selecting the "“Access Level".
Useruser from a project,project, open the context menu beside their name and select "“Remove from Project".