
Creating a View
The VoxelSpace WebUI provides two ways to begin creating a View, allowing users to define how multiple spatial datasets are visualized together.
Starting a New View
You can initiate View creation in either of the following ways:
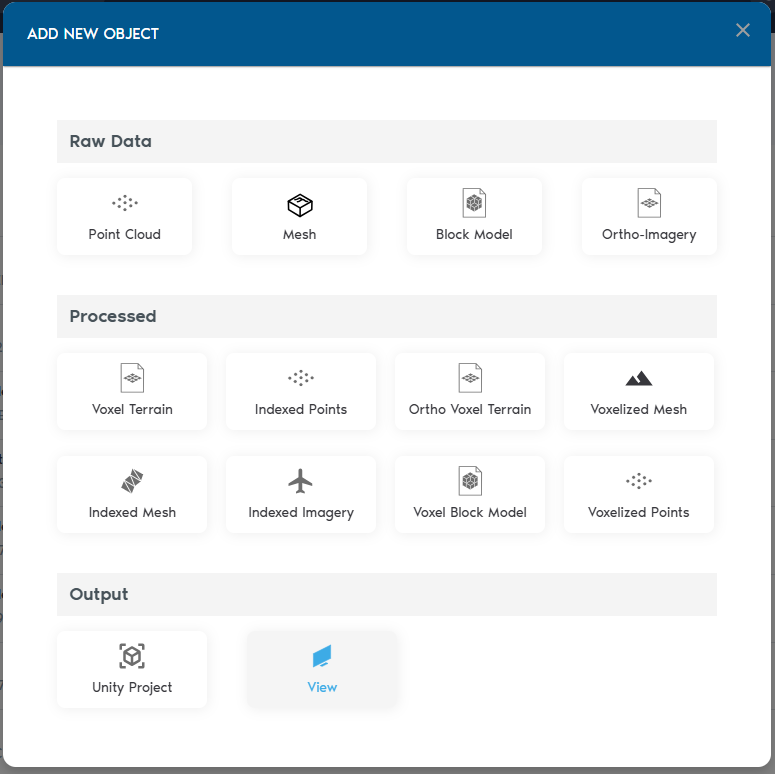
1. From the Catalog Section
Click “Add Object”, then select “View.” This method lets you explicitly choose the Folder where the View will be stored.
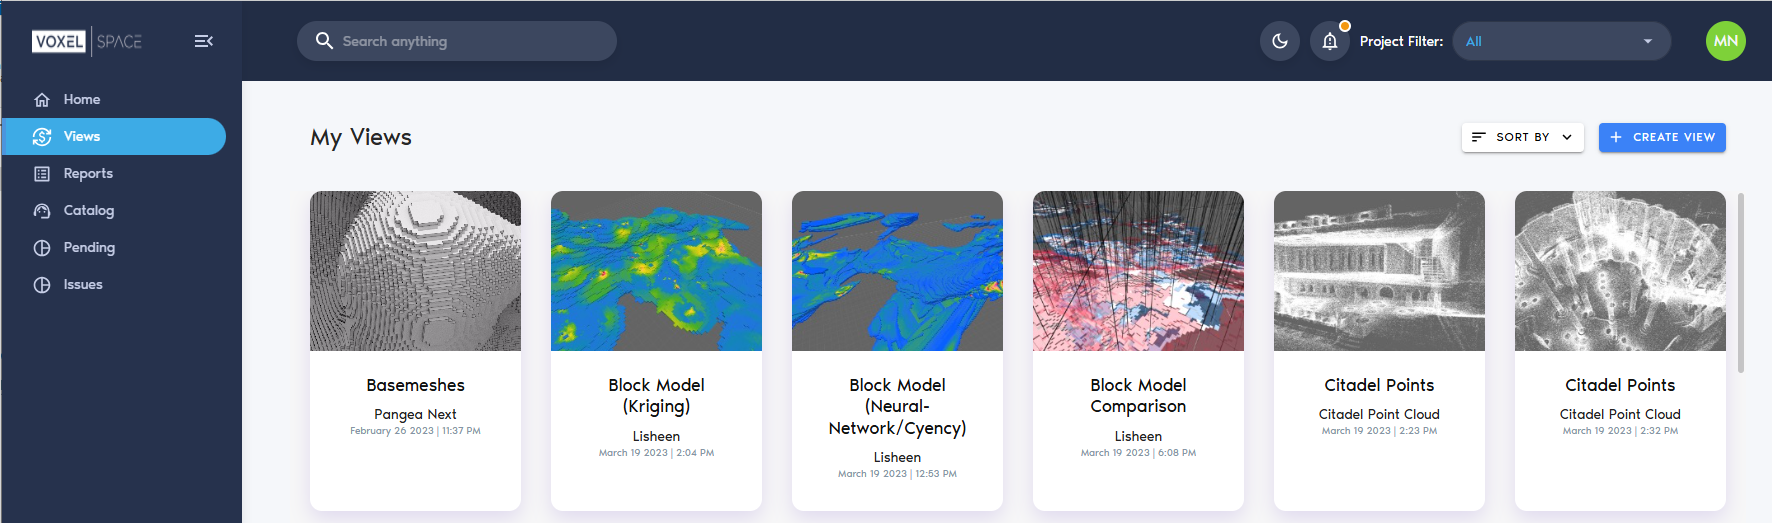
2. From the Views Section
On the Project’s View tab, click the “Create View” button.
Both methods open the same configuration interface. When using the second method, you can assign a folder from within the View Definition dialog.
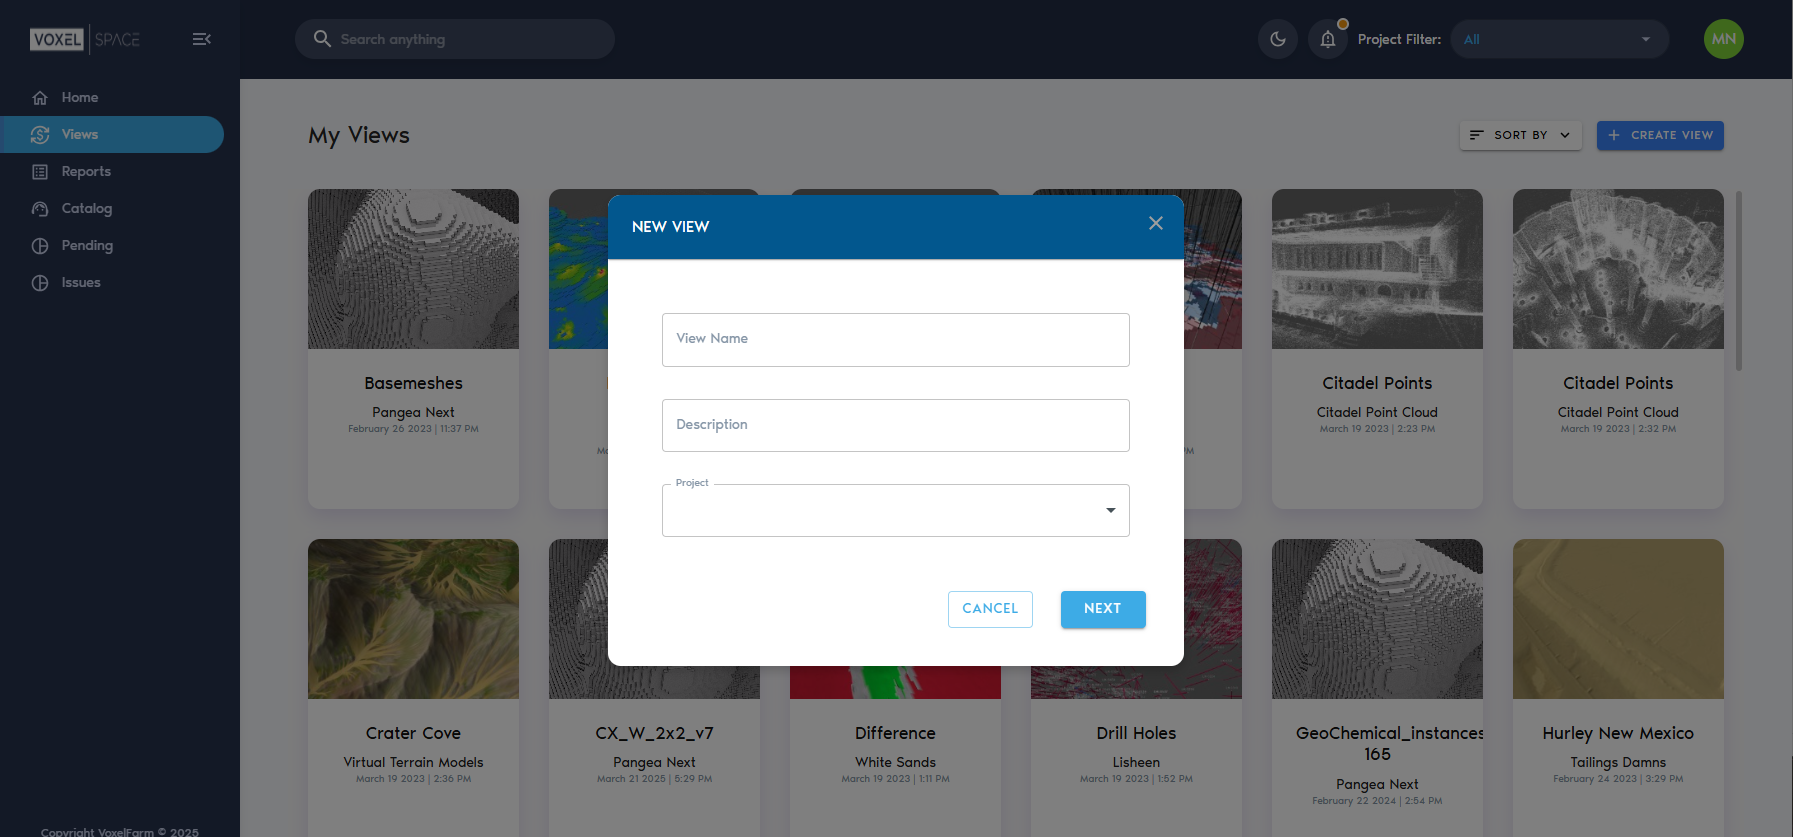
Both approaches have the same results, the only difference is in the first case the user is aware from the start of which Folder will contain the View object, as the object is explicitly added to a Folder. When using the second approach, it is also possible to define which Folder will contain the View entity from the View definition UI.
Using on any of the approaches above will show the View creation UI:
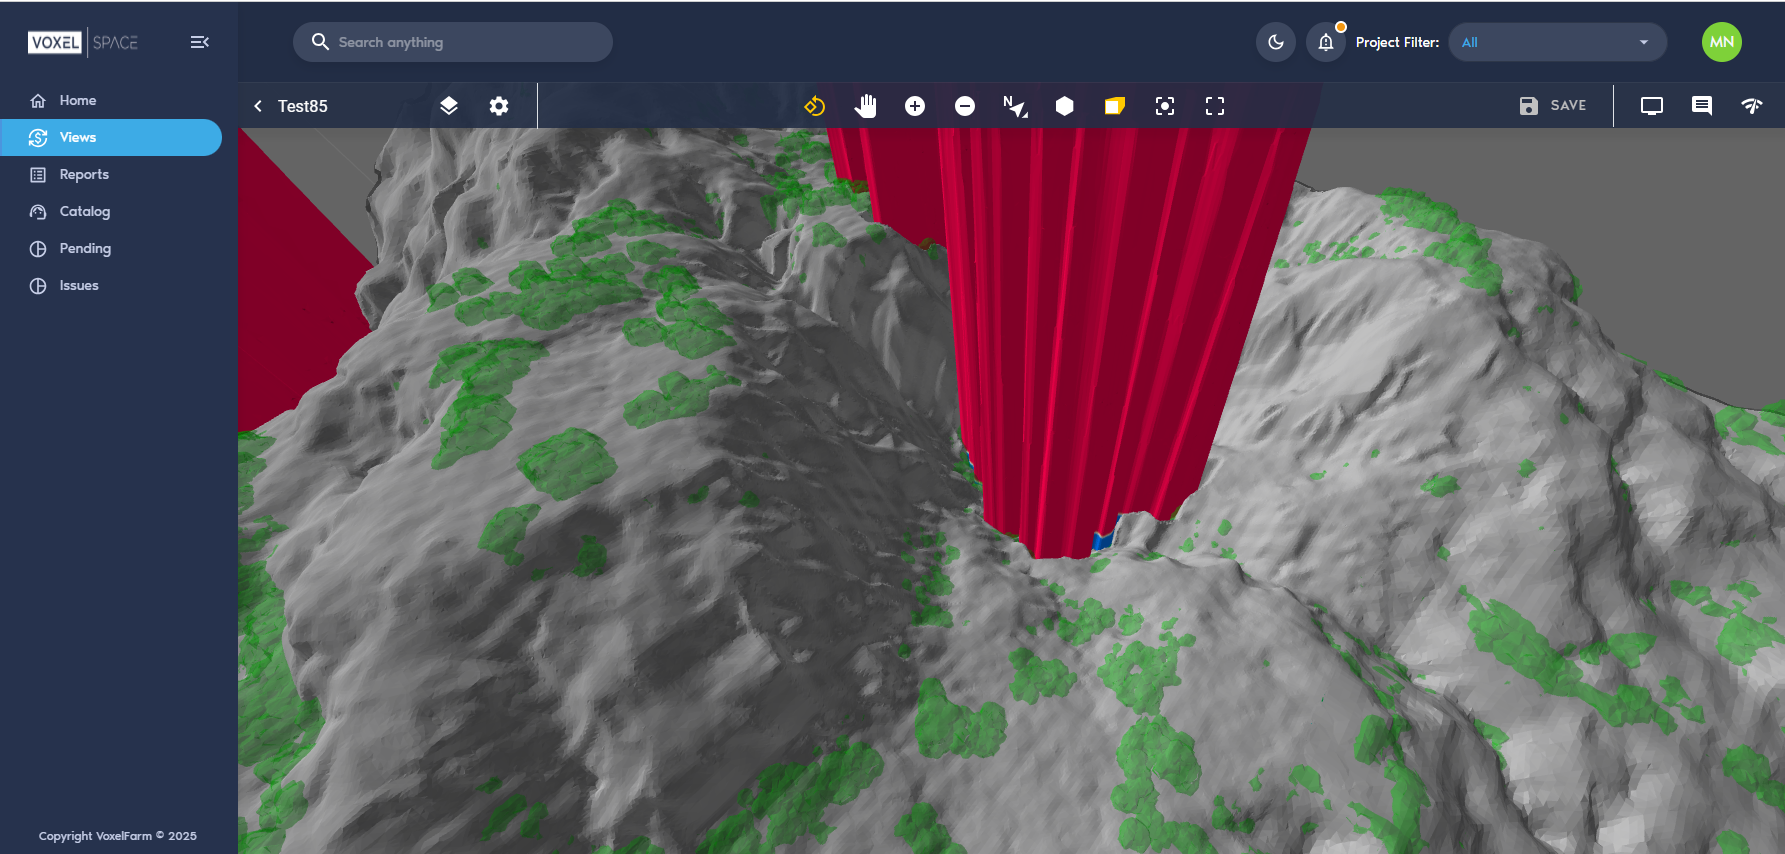
At this point the View is created, but not saved into the Project. Other team members will not see it until you press the "Save" button. At the top-right corner of the UI, a button with a gear icon displays the View configuration options.
Typically, you will add one or more visual layers to the View before saving it. The Adding Layers to a View section covers how to add layers of data to a View.
Once the view displays some content, you can provide a meaningful name to it and capture its thumbnail from the "General" section found in the View configuration panel:
It is possible to save your changes to the view by clicking any of the "Save" buttons in the View configuration panel. One is found in the "General" section and the second is in the "Layers" section.