# Creating a Project
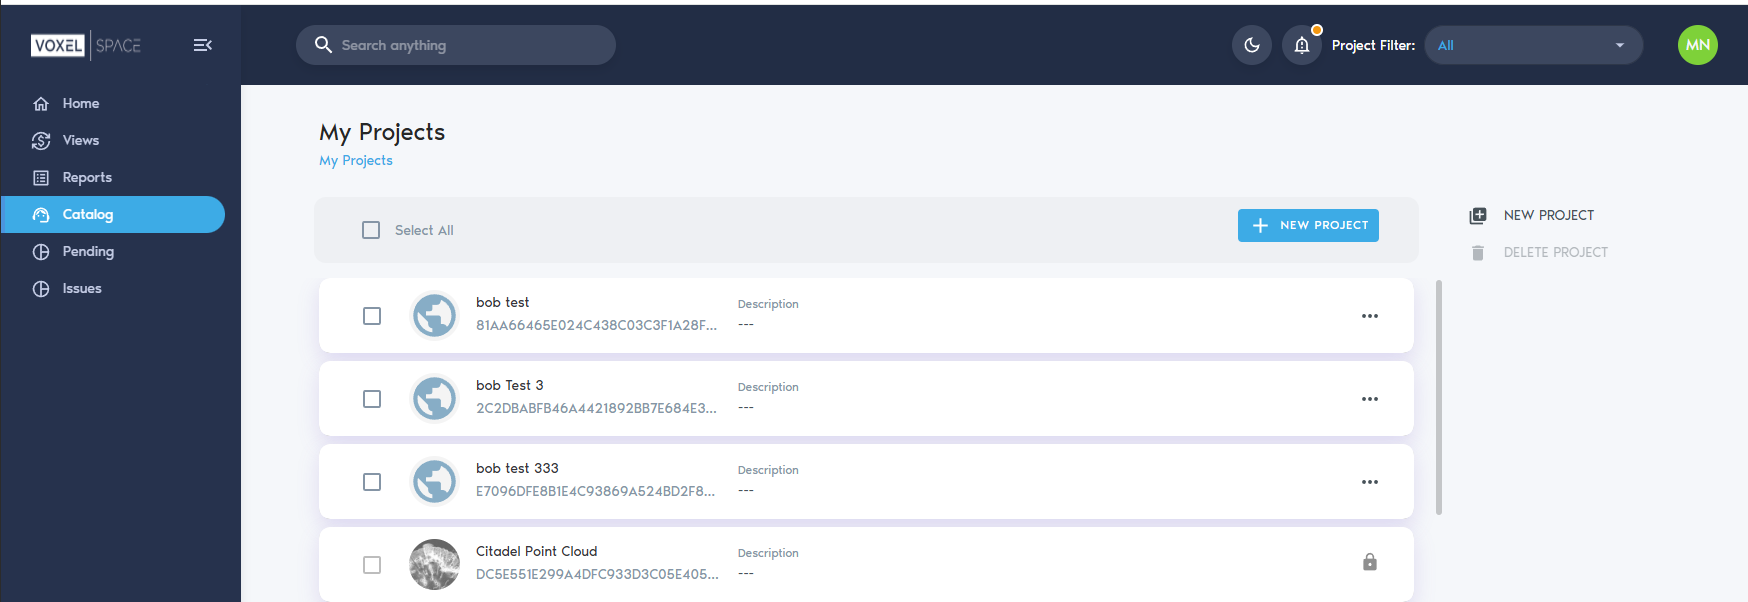
To create a new Project in VoxelSpace, start by navigating to the **“Catalog”** section from the left-hand menu. This will display a list of all projects currently assigned to your user account.
Next, click the **“New Project”** button, located at the top of the project list:
[](https://help.mystart.com/uploads/images/gallery/2025-03/Uwgimage.png)
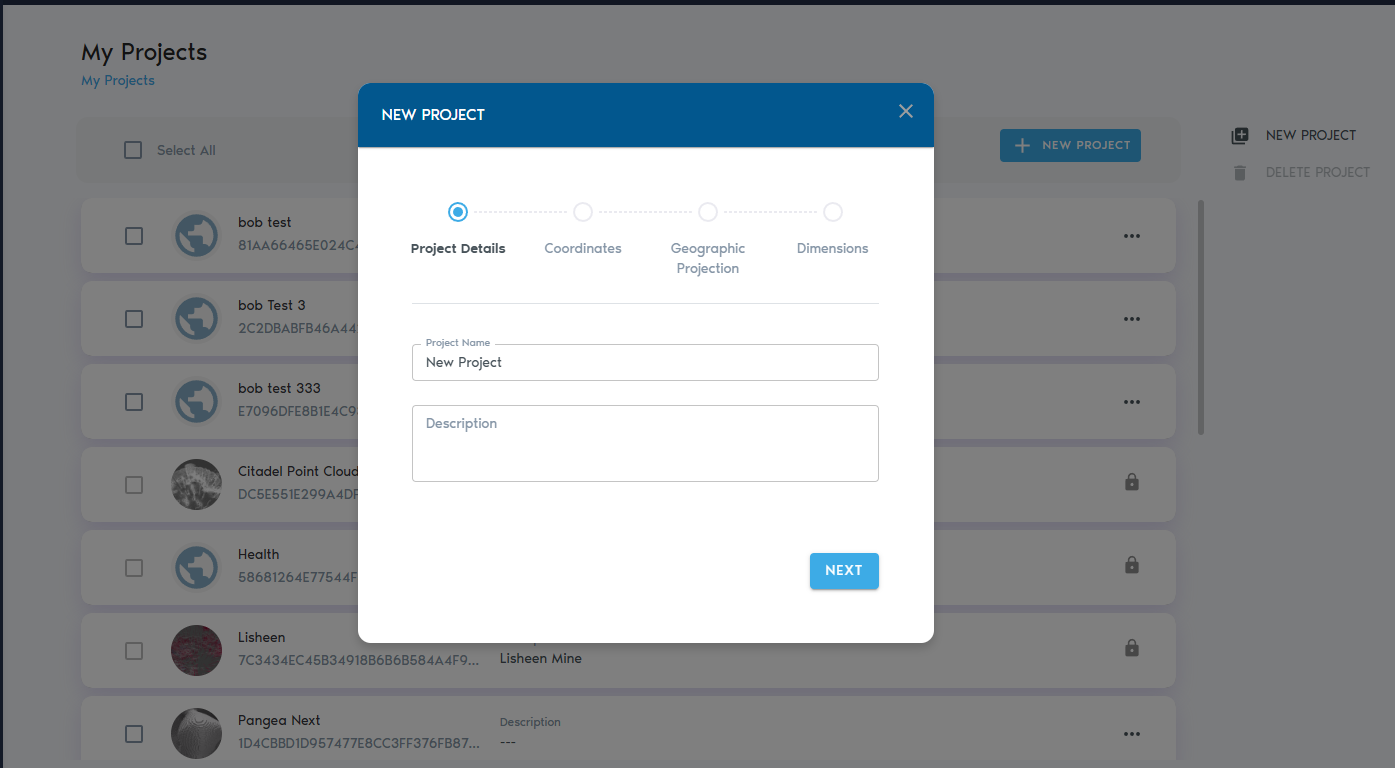
A dialog window will appear, prompting you to enter information about the new Project:
[](https://help.mystart.com/uploads/images/gallery/2025-03/TLuimage.png)
In this dialog, provide:
- A **Project Name**
- An optional **Description**
Below these fields, you’ll find settings for the **Project’s Coordinate System**. These define how spatial data will be aligned and interpreted within the project. For more details, refer to the **Project Coordinate System** section of this guide.
Once you’ve entered the necessary information, click **“Create.”**
The system will generate the project and automatically load it, placing you in the **Project Catalog** view where you can begin organizing folders and uploading spatial entities.