Working with Projects
In VoxelSpace, Projects are the central containers used to organize spatial data, collaborative workflows, and visualization tools. Each project can include datasets, views, reports, and processing scripts, making it the foundation for team-based work and long-term data management.
After the project is created, you need to upload the Raw Data of project using Add Object.
Once the Raw Data is associated to the project you need to process that data to generate an output (view or Unity Project).
- Introduction
- Creating a Project
- Project Setup
- Project Coordinate System
- Linking Users to Projects
- Creating a View
Introduction
Working with Projects
The VoxelSpace platform uses a data-centric approach to help organizations scale the spatial understanding of their operations.
At the core of this approach is a shared repository of spatial data objects, known within the platform as Entities. These Entities represent a wide range of geospatial and design data types, including:
- Point Clouds
- Terrain Models
- Block Models
- Planning / Design Solids
- BIM (Building Information Models)
Entities can be shared across different teams within the organization—subject to security and access controls.
Most organizations generate thousands of Entities annually. These may include datasets captured from the field, models created by internal teams, or results generated through automated spatial processing. The full collection of these assets forms the organization’s Catalog.
Project Structure and Organization
To manage large volumes of Entities, the platform organizes the Catalog into a hierarchy of Projects and Folders.
· Projects serve as containers for related Entities, workflows, and team collaboration.
· Each project can have its own custom folder structure, defined by the project team.
· Access permissions, folder layouts, and the selection of Entities within each project are configurable by the organization’s users.
After logging in, users can navigate to the “Catalog” section in the left-hand menu to see a list of accessible Projects.
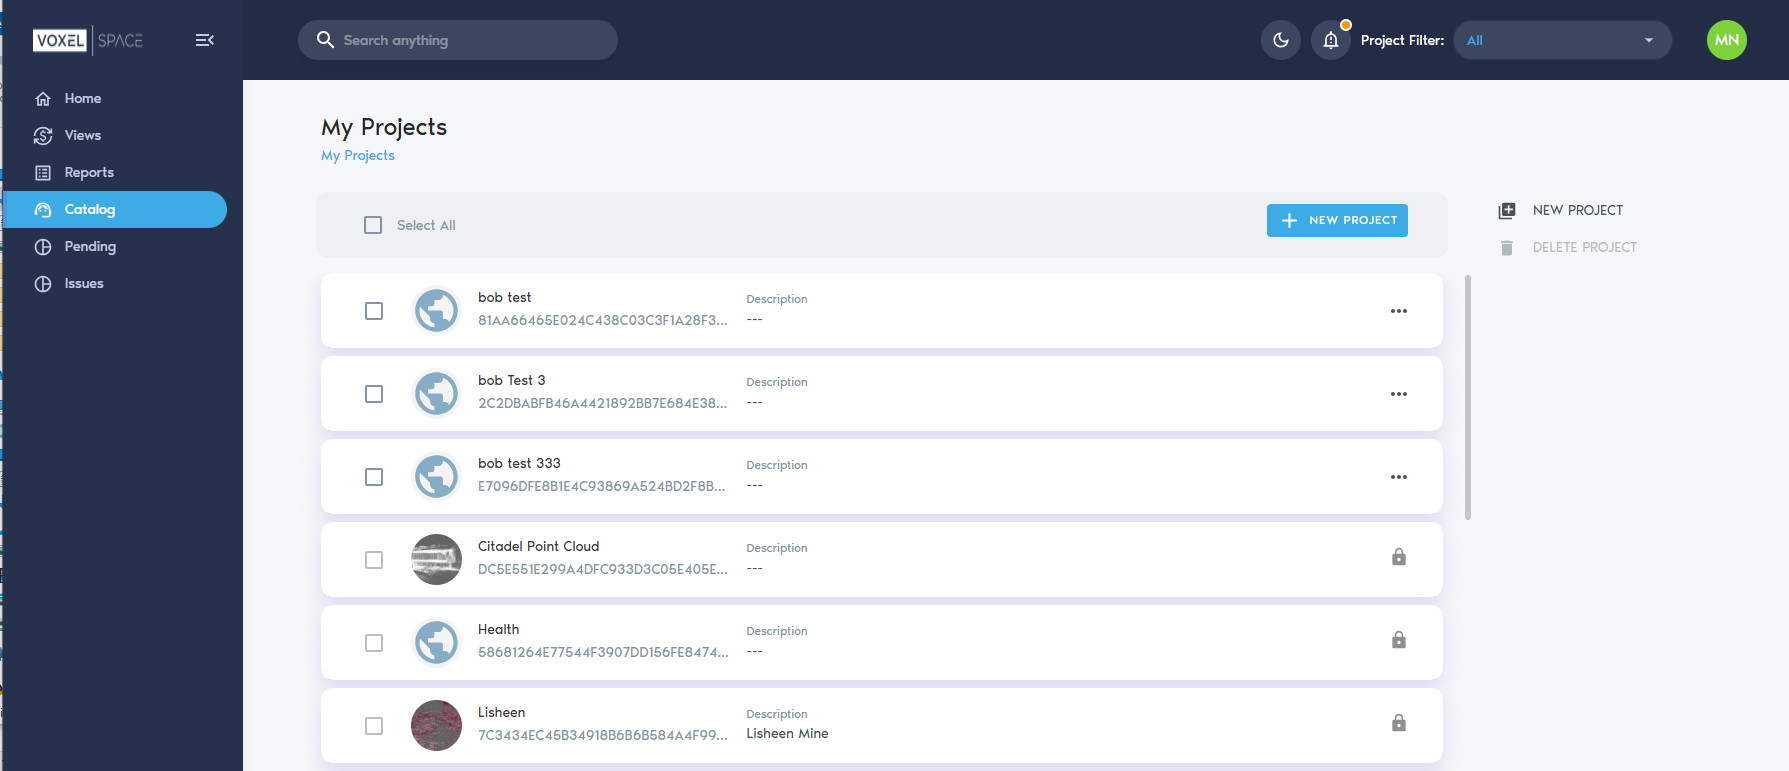
Clicking on a Project will open its workspace. This loads the Project Catalog, where users can browse and interact with the folder structure and associated Entities.
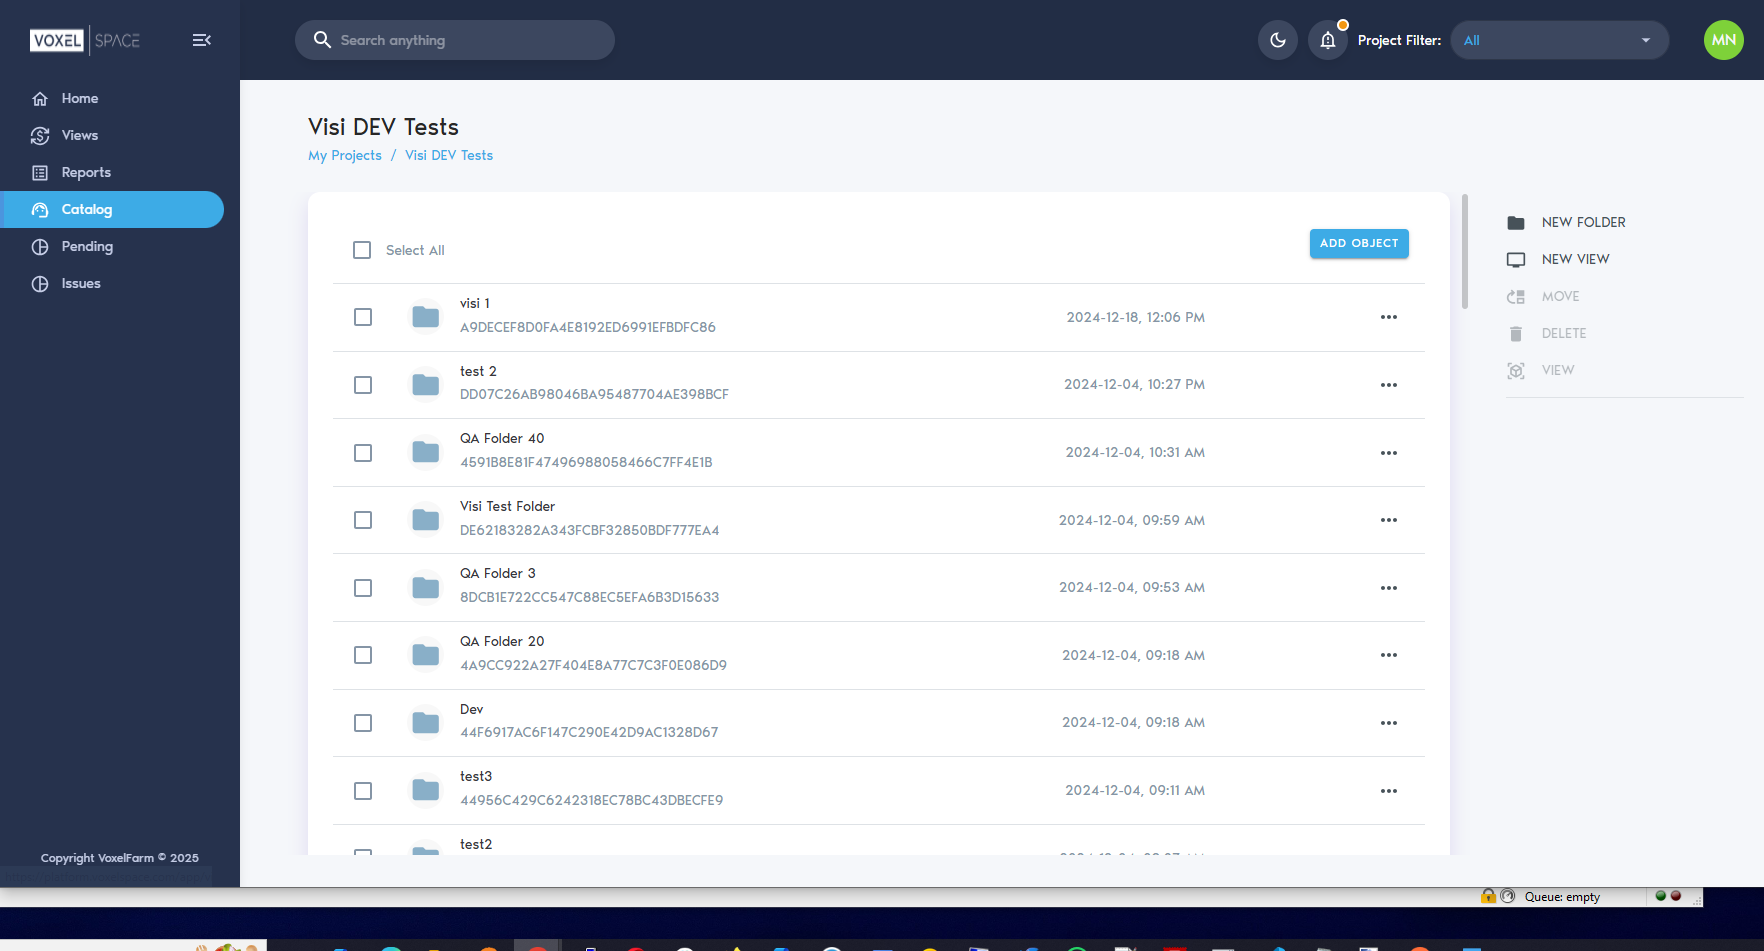
Users can organize the catalog by creating folders using the “New Folder” button. This helps maintain clarity and structure as more Entities are added to the project.
Creating a Project
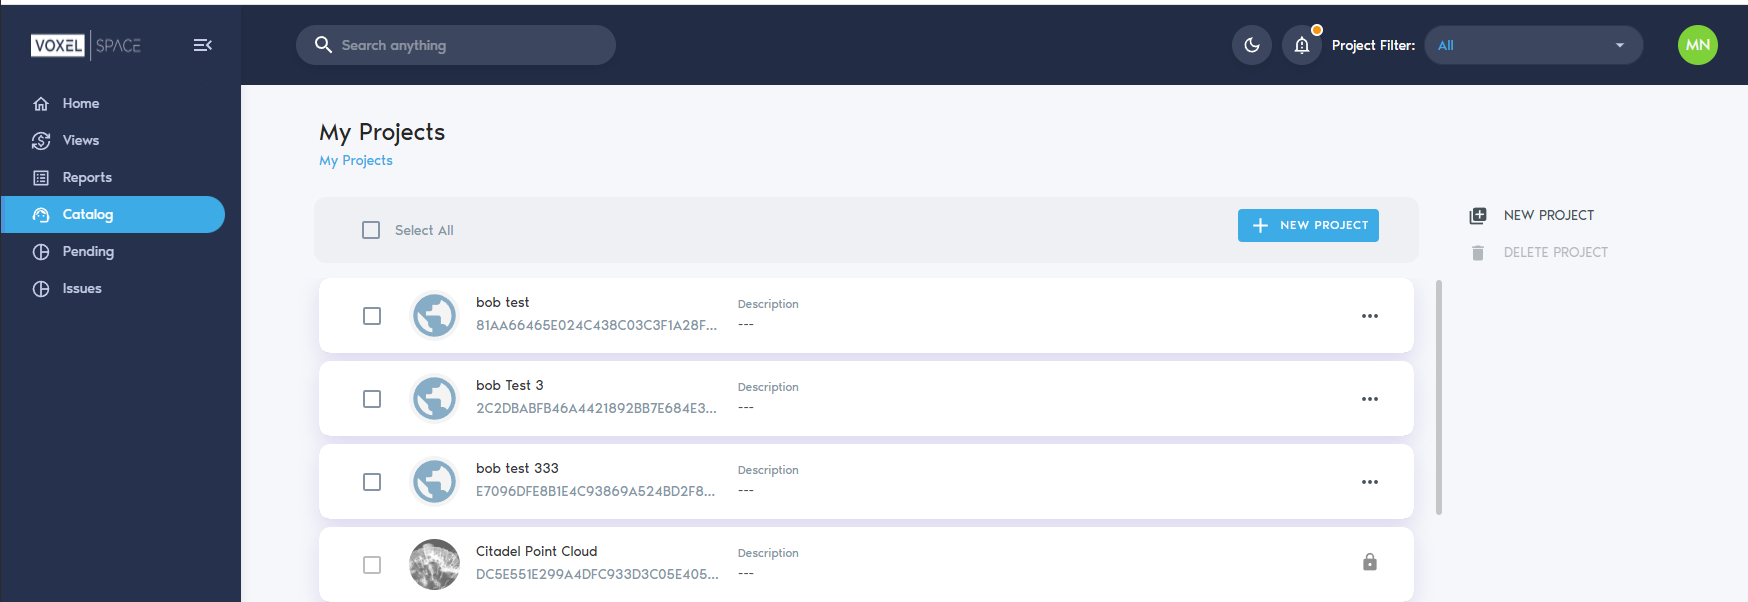
To create a new Project in VoxelSpace, start by navigating to the “Catalog” section from the left-hand menu. This will display a list of all projects currently assigned to your user account.
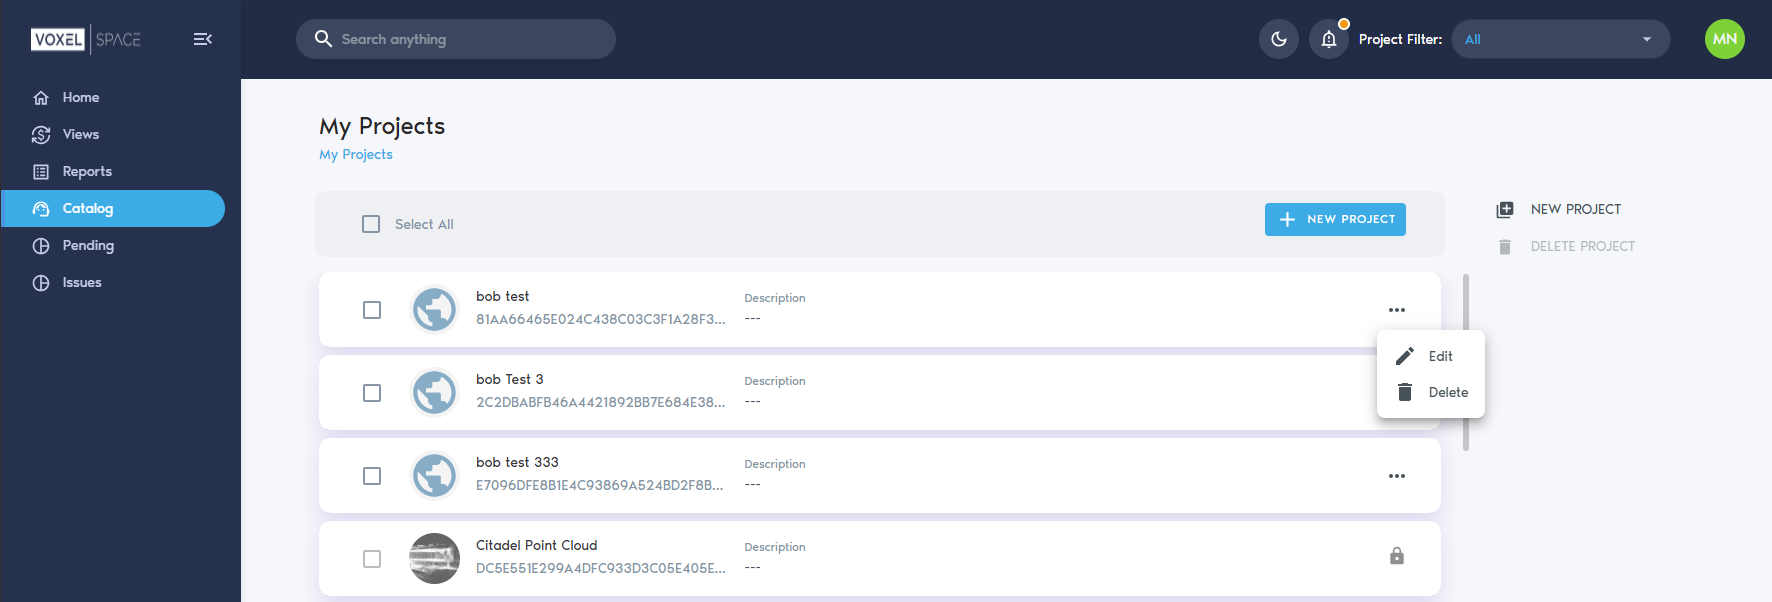
Next, click the “New Project” button, located at the top of the project list:
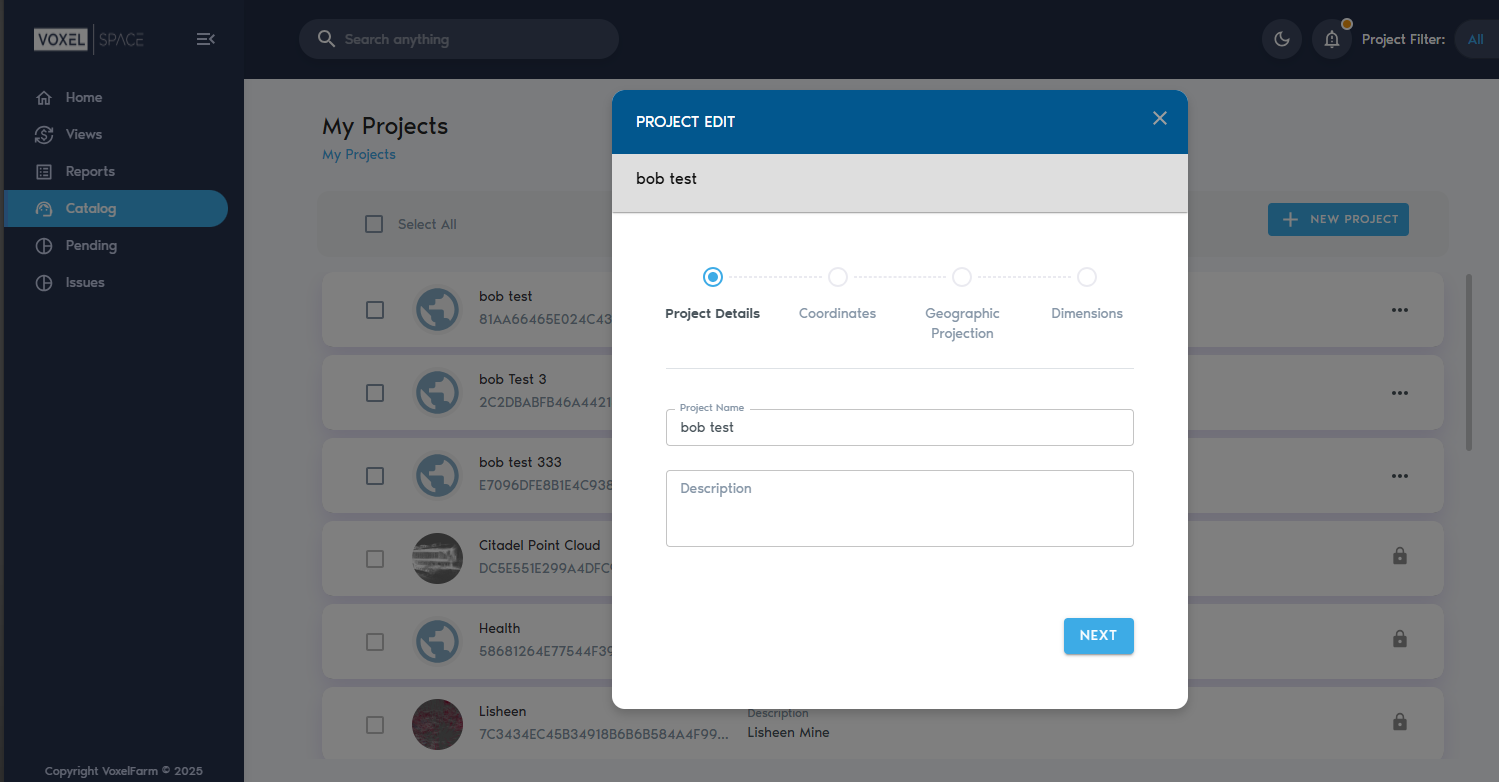
A dialog window will appear, prompting you to enter information about the new Project:
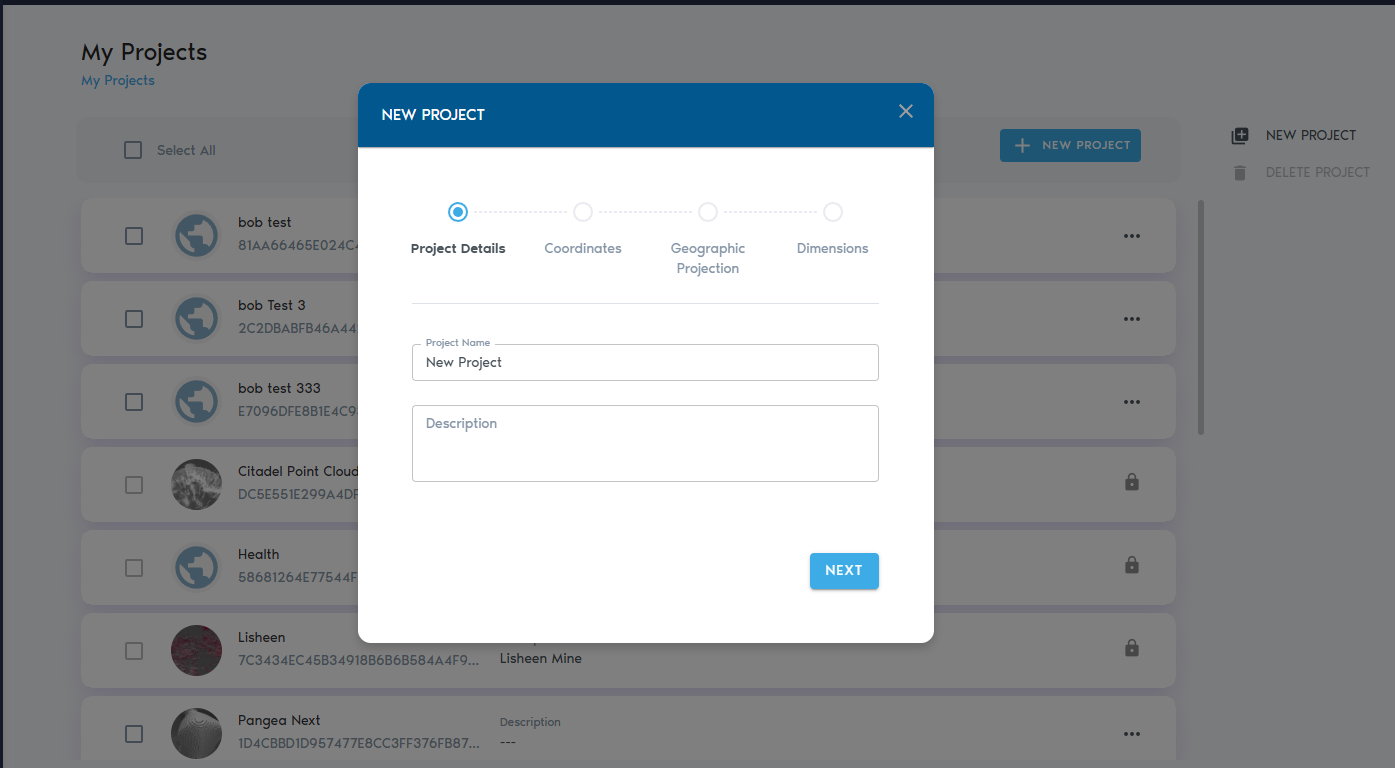
In this dialog, provide:
- A Project Name
- An optional Description
Below these fields, you’ll find settings for the Project’s Coordinate System. These define how spatial data will be aligned and interpreted within the project. For more details, refer to the Project Coordinate System section of this guide.
Once you’ve entered the necessary information, click “Create.”
The system will generate the project and automatically load it, placing you in the Project Catalog view where you can begin organizing folders and uploading spatial entities.
Project Setup
To modify Project settings, first go to the catalog and click on three-dot menu of your project and select Edit:
I
Project Coordinate System
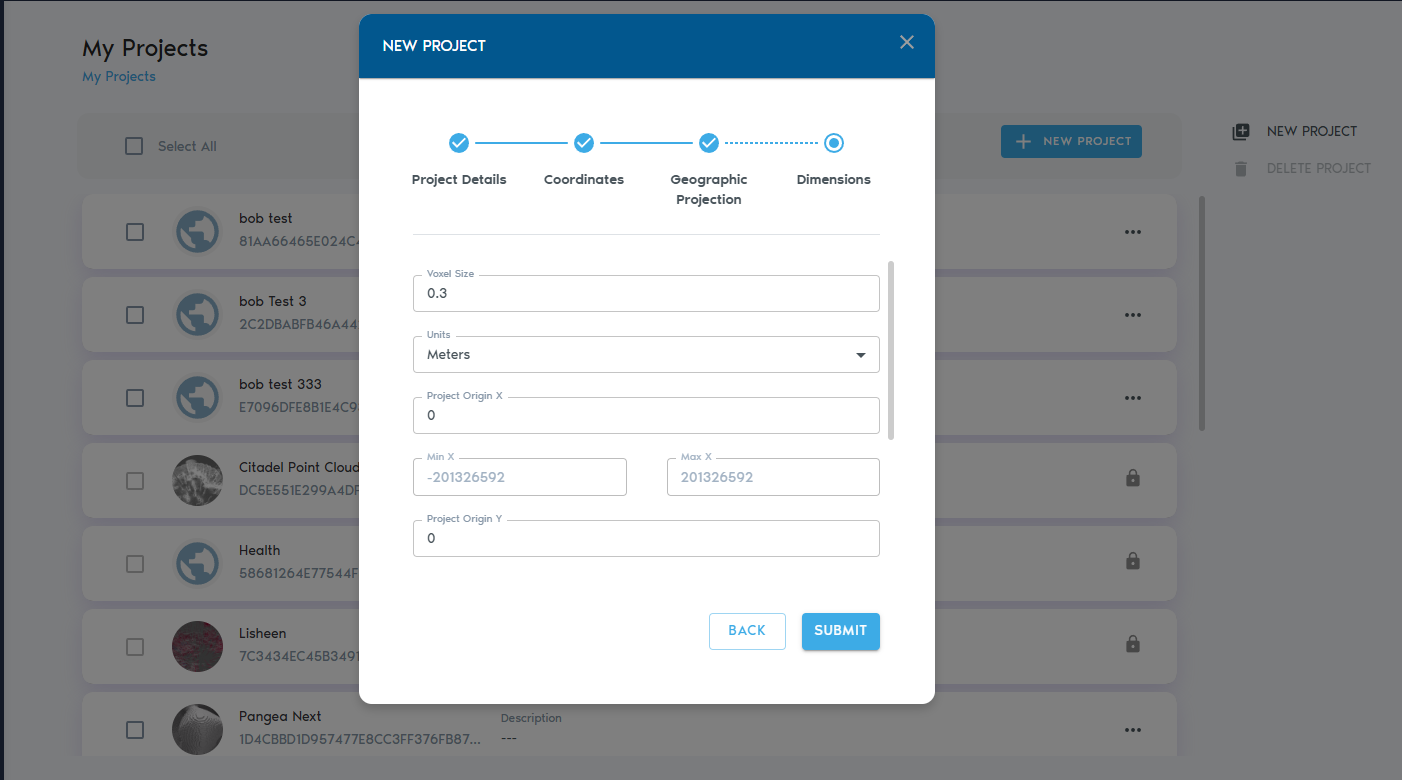
Use the “Coordinates” section when creating or editing a project to define its units, reference systems, and spatial framework.
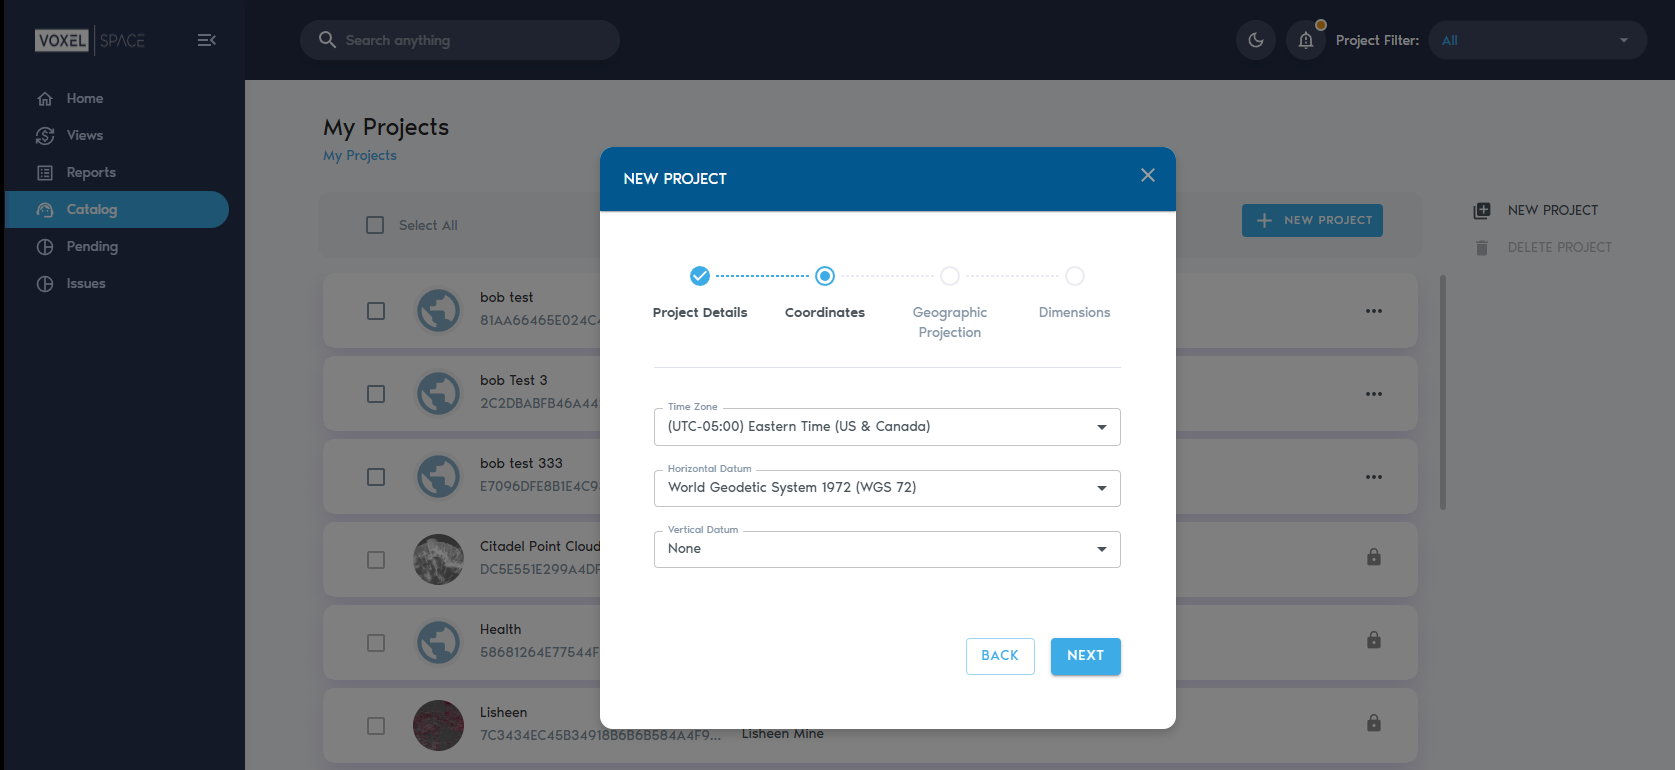
These settings are essential for aligning all spatial data correctly within your project and ensuring consistency across datasets.
|
Field |
Description
|
|
Time Zone |
Sets the local time zone for the project location. This helps timestamp data and coordinate updates across time-based processes.
|
|
Horizontal Datum |
A horizontal datum defines how latitude and longitude coordinates are calculated based on the shape of the Earth. VoxelSpace supports the following horizontal datums:
|
|
Vertical Datum |
A vertical datum sets the reference surface used to measure elevation or depth. VoxelSpace supports the following vertical datums:
|
|
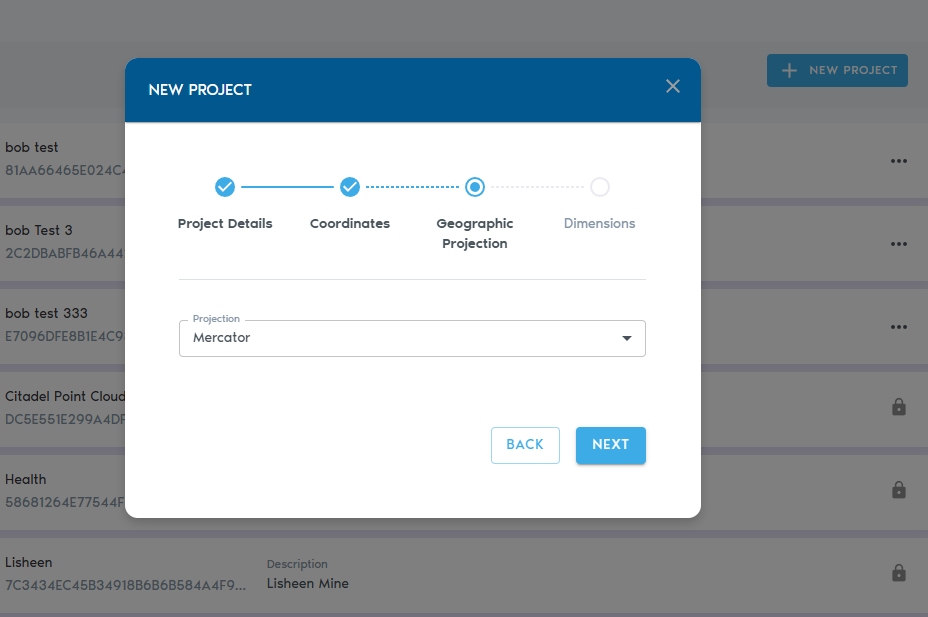
Projection |
Defines the map projection used to represent the Earth’s curved surface in 2D/3D space. Supported projections include:
|
|
Units |
Choose whether your project uses meters or feet for all distance measurements.
|
|
Voxel Size |
Voxels are 3D cubes. This setting defines the edge length of each voxel (in project units).
|
|
Project Origin (X, Y, Z) |
The origin point of the project’s coordinate space. All spatial data will be referenced relative to this point.
|
|
Min X, Y, Z (Read-only) |
The minimum bounds of the coordinate system in each axis. Calculated automatically.
|
|
Max X, Y, Z (Read-only) |
The maximum bounds of the coordinate system in each axis. Calculated automatically.
|
Next Steps
After setting the coordinate system, click “Next” to continue defining the dimensions and spatial extent of your project.
Linking Users to Projects
VoxelSpace features a built-in security model that controls user access based on authentication and assigned permissions. Once a user is authenticated via the login provider, they can be linked to specific projects with appropriate access levels.
Adding a User to a Project
To assign a user to a project:
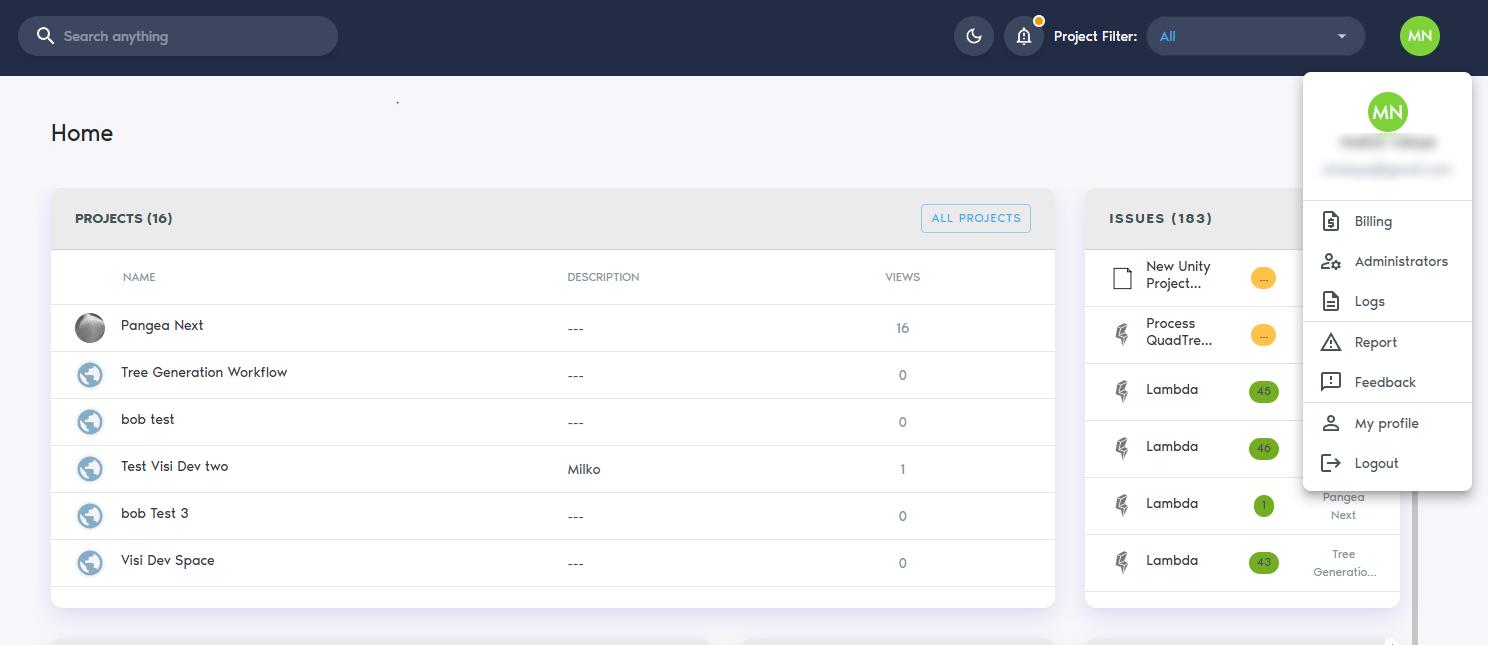
1. Go to your user profile by clicking on your name or profile icon (My profile).
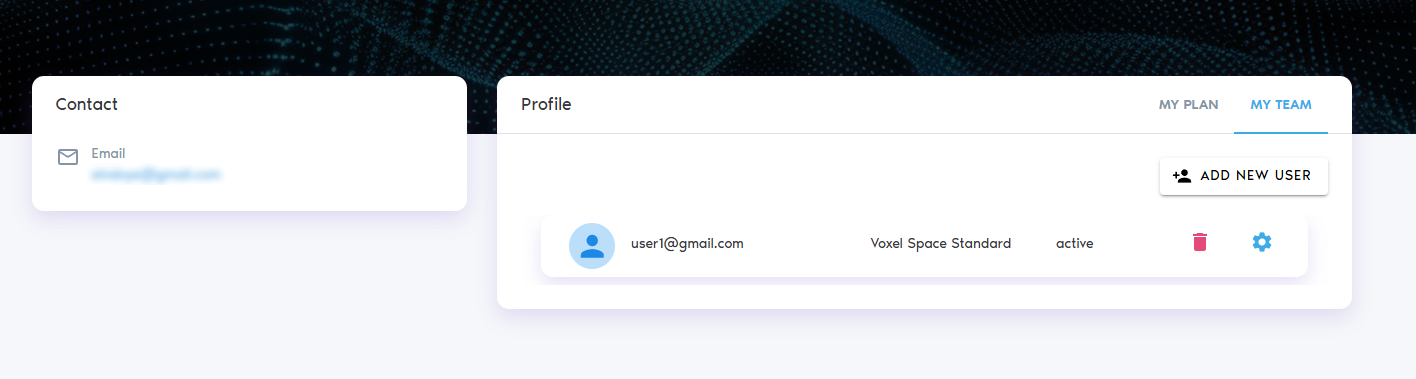
3. Click “Add New User” to create a new user account.
4. After the user is created, click the Settings icon next to their name.
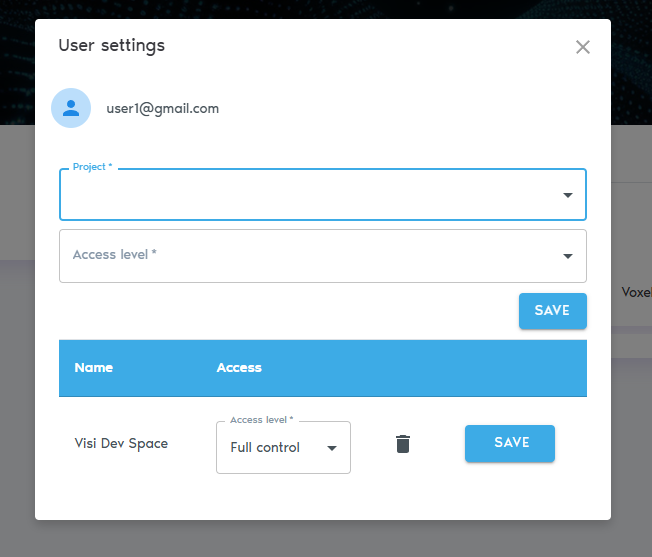
5. Select “Add Project” to assign a project to the user.
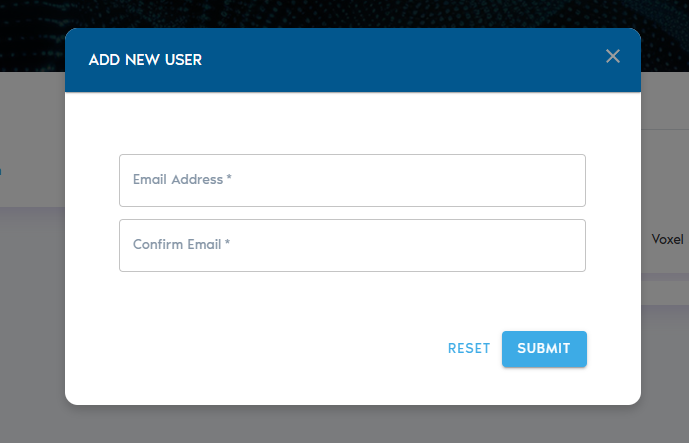
6. In the dialog box, enter the following details:
-
-
- User ID: This is typically the user's email address, but it may vary depending on your authentication setup. If you're unsure, consult your system administrator.
- Access Level: Choose between:
- Read-Only: The user can view project data but cannot modify or add content.
- Full Control: The user can view, edit, add data, and manage user access for the project.
-
7. Click “Add User” to send an invitation. The user will receive an email with instructions to join the platform and access the assigned project.
Managing User Access
- To change a user’s access level, click the Settings icon next to their name and select “Access Level.”
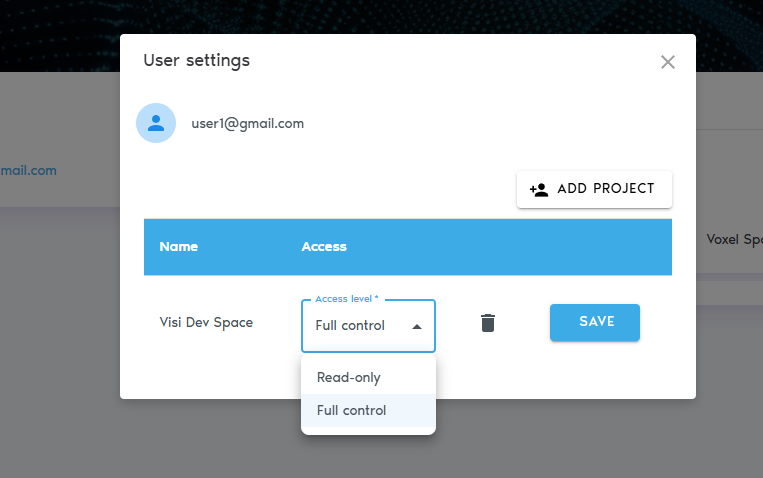
- To remove a user from a project, open the context menu beside their name and select “Remove from Project.”
Creating a View
Creating a View for your project. The WebUI provides two different ways to start the creation of a View...
More options for View